CV/Resume
General Information
Thank you for purchasing our Theme! We hope you will find answers to all your questions regarding Certy answered in this Documentation
as much in details as possible. However, if you still need support, do not hesitate to
submit a ticket. We will appreciate, if you find a few seconds and
rate our Theme. Many thanks!
To install this theme you must have a working version of WordPress.
If you are new to WordPress, we highly recommend you to read through some beginner tutorials first.
Technical Requirements
To install this theme you need to have a working version of WordPress. Please refer to WordPress documentation for further instructions. You can download the latest version of WordPress here.
Besides the recommended server requirements for WordPress, make sure your PHP memory for WordPress is set to 128MB. You can read more about changing the PHP memmory in WordPress codex.
This theme is tested under Mac, Windows
Compatible Browsers: IE9+, Firefox, Safari, Chrome, Opera
Theme Installation
Install Theme
Once you've downloaded the installation file on ThemeForest, extract it and locate a file called certy.zip. You can install the theme by using one of two installation methods:
-
WordPress upload - This is probably the simplest way for most users. Here are the steps you need to take:
- Login to WordPress admin
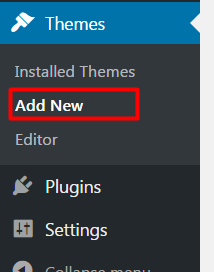
- Go to admin panel > Appearance > Themes > Add New > Upload Theme
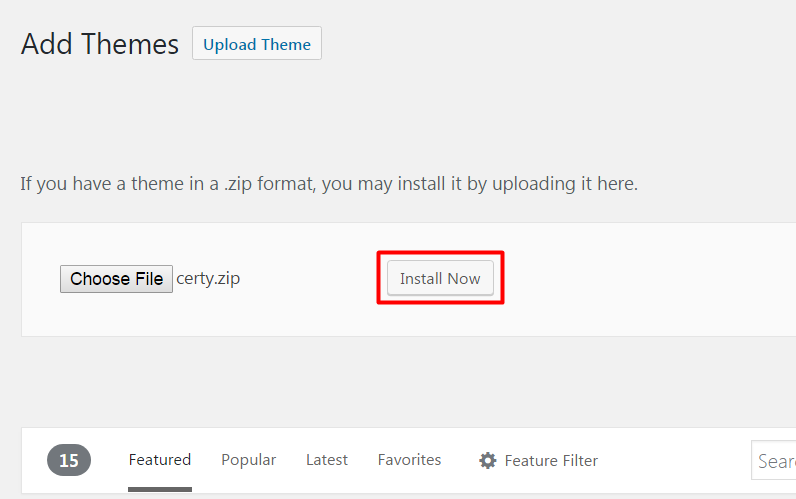
- Click on "Choose File" and select certy.zip
- Click on "Install Now"

-
FTP upload - If you wish to install via FTP, here are the steps you need to take:
- Using FTP client, login to the server where your WordPress website is hosted
- Using FTP client, navigate to the /wp-content/themes/ directory under your WordPress website's root directory
- Using FTP client, upload the certy directory to themes directory on remote server
Install Plugins
The theme requires the following plugin: Certy Theme Extensions, Advanced Custom Fields PRO and recommends the following plugins: Contact Form 7, Image Widget, Envato WordPress Toolkit, One Click Demo Import.
Step 1 – After activating the theme, you will be asked to install the required and recommended plugins, you can proceed by clicking on Begin installing plugins.
Step 2 – In the next page, check all the plugins that you want to install then on the drop down Bulk Actions, choose Install then click Apply, the plugin installation process will start. Wait until all plugins activated then start customizing your website as you wish.
Update Theme
Manual update
When new update will be released, the ThemeForest will notify you about that so you can download new package and install it manually. We don't recommend this approach. The more robust way is to use automatic updates.
Automatic update
To use automatic updates you need the Envato WordPress Toolkit plugin. If you haven't installed it yet, you can do that now via WordPress Admin › Appearance › Install Plugins panel.
For more information about its configuration, please read the Envato WordPress Toolkit Guide For Automatic Theme Updates.
Theme Demo setup
Now installing demo version is easy as never before, you can install any demo with just one click.
Before installing demo please consider following: If you want your demo to looked exactly like selected demo and to prevent conflicts with current content, we highly recommend importing demo data on a clean installation.
We highly recommend to create backup of your site before database reset. Please note that database reset means cleaning all content that you have in your WordPress and restore to WordPress defaults. You can use WordPress Database Reset plugin or WP-Reset plugin to reset your WordPress site and start clean installation.
Here is how one click demo works – It took XML file with content, DAT file for Customizer and WIE file for widgets and set all them together with one session.
Once you installed the theme and activated required and recommended plugins, go to Dashboard > Appearance > certy Demo Import and click on it. You will see below page where you will be able to choose any of predefined demos.
Select the Demo which you decided to import and then click on “Import” button.
In opened popup approve your choice.
Note: media files, posts and pages in demo content are different then in initial demo versions. We decreased posts and media files to make the demo load faster.
Theme Customization
Getting started
Most of all changes for website’s front, you can do by customizer setup. We will explain what you can change from this setup
Here's what you need to do:
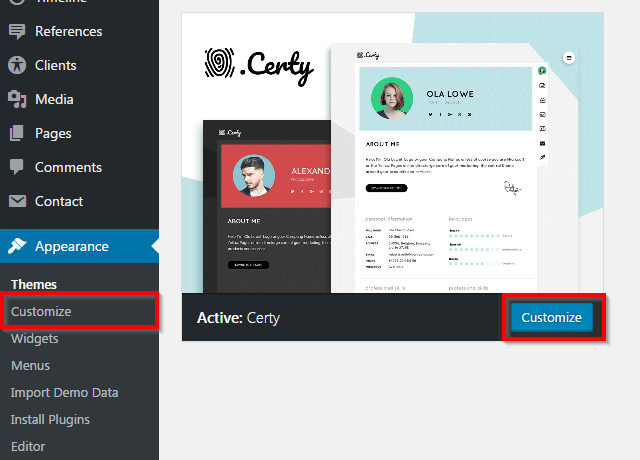
- Go to Appearance > Themes
- On Theme certy, click Customize to start customizing your theme
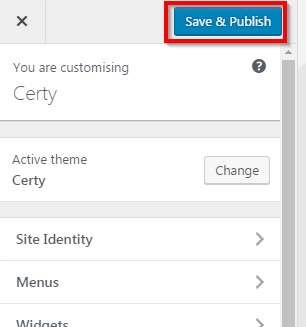
NOTE: Please remember to click Save & Publish button at top left after done customizing to save the changes
NOTE: These are global settings so its effect is site-wide. These settings can be overridden in single post or page
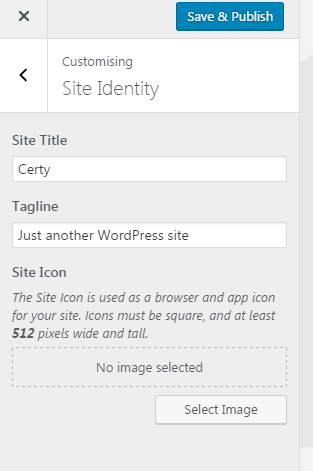
Site Identity
In this section you can change:
-
Site title and tagline, Site icon (favicon)
Widgets
Widgets are easy to manage and can be incredibly useful to have on your site.
For certy we've developed custom widgets to give you even more functionality:
- Certy: Card Widget
- Certy: Recent Posts
For detailed instruction how to edit/add/reorder widgets, click to Widgets section.
In this section you can quickly manage (edit/add/reorder) already created widgets areas.
Static front page
You can find detailed information about this section here.
Header
Theese are header options
-
Logo
Upload the logo
-
Retina Logo
Upload the logo for retina displays
-
Logo Text
If logo isn't uploaded then you can use text logo
-
Logo Position
Select the position for logo
-
Menu Position
Select the position for menu
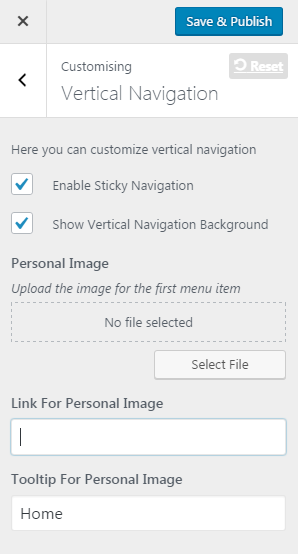
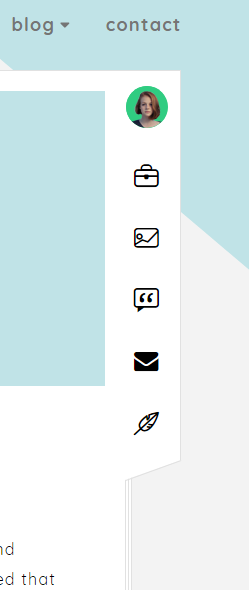
Vertical Navigation
Here you can customize the menu which is shown near the content area.
-
Enable Sticky Navigation
select the checkbox if you want to make sticky this navigation
-
Show Vertical Navigation Background
select the checkbox if you want to show the white background
-
Personal Image
Upload the image for the first item of this navigation
-
Link For Personal Image
put the link for personal image
-
Tooltip For Personal Image
Type the text wich will be shown on image mouseover
Typography
Here you can customize the typography and seperatly select the font family for body, headeings and logo.
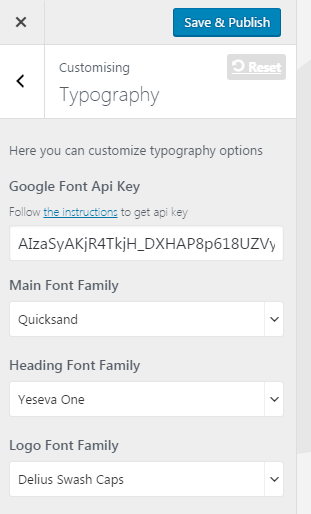
For google font our Theme uses Px-lab's settings by default, however it has request limitations. We strictly recommend to register new api key for google font and for google map. For google fonts check https://support.google.com/cloud/answer/6158862 for guidline
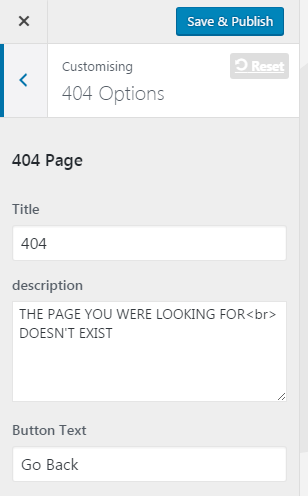
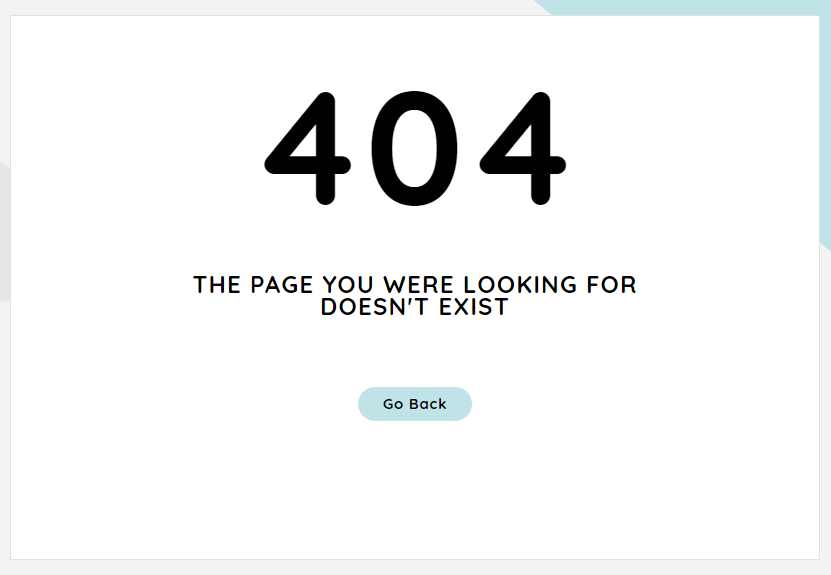
404 Options
Here you can change the 404 page options
Map
To activate map on your site please generate Google API Key here. Go to the WordPress Customizer and set generated key into the "Google Map API Key" field.
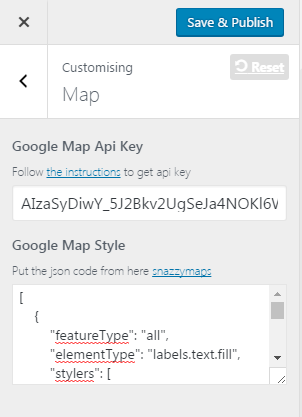
Using a styled map:
Design your own map style, customize colors, roads, labels, and more.
- Go to google map style
- Generate your own styles
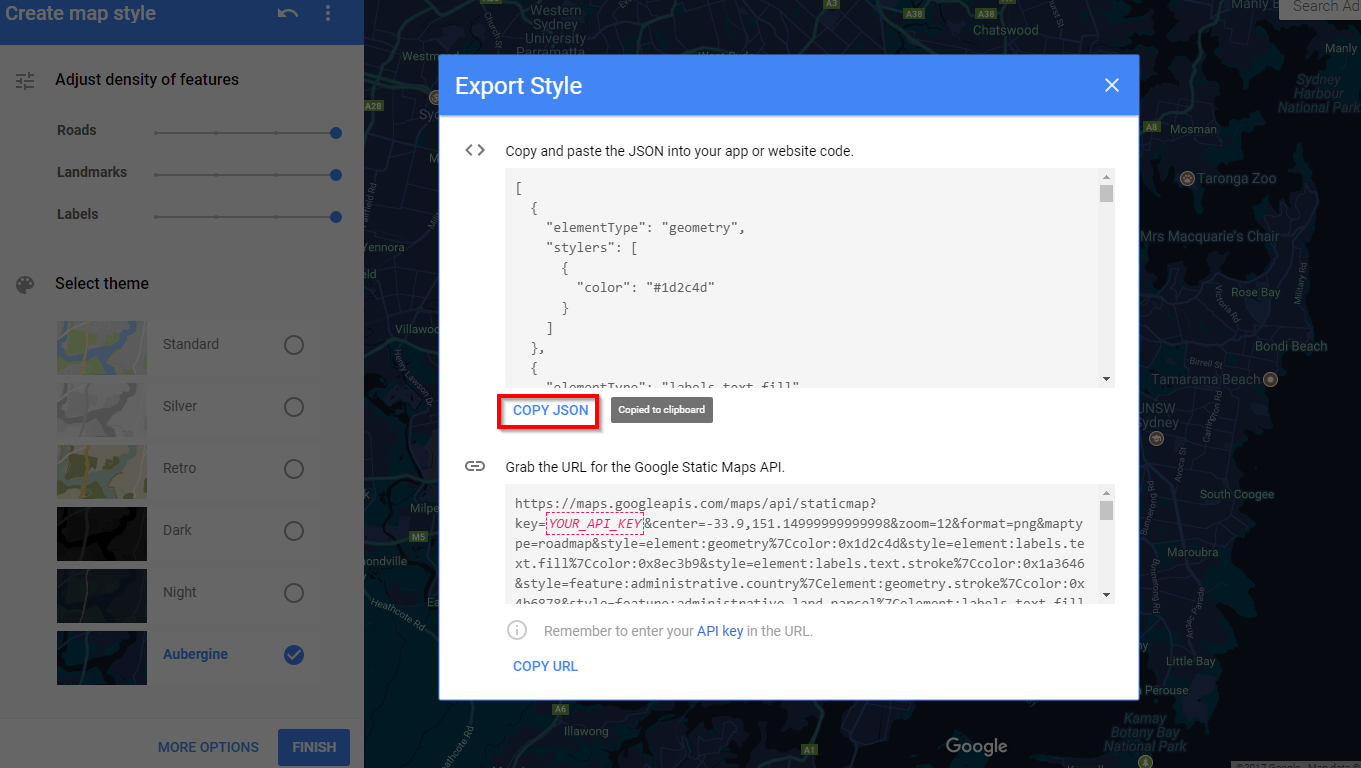
- Copy and paste the JSON into the Wordpress Customizer "Google Map Style" field.
If you want to quickly apply nice and interesting styles for your google map use Snazzy Maps. it's a repository of different color schemes for Google Maps aimed towards web designers and developers.
- Go to Snazzy Maps
- Select the map which you like
- From the map page copy "JAVASCRIPT STYLE ARRAY:" code
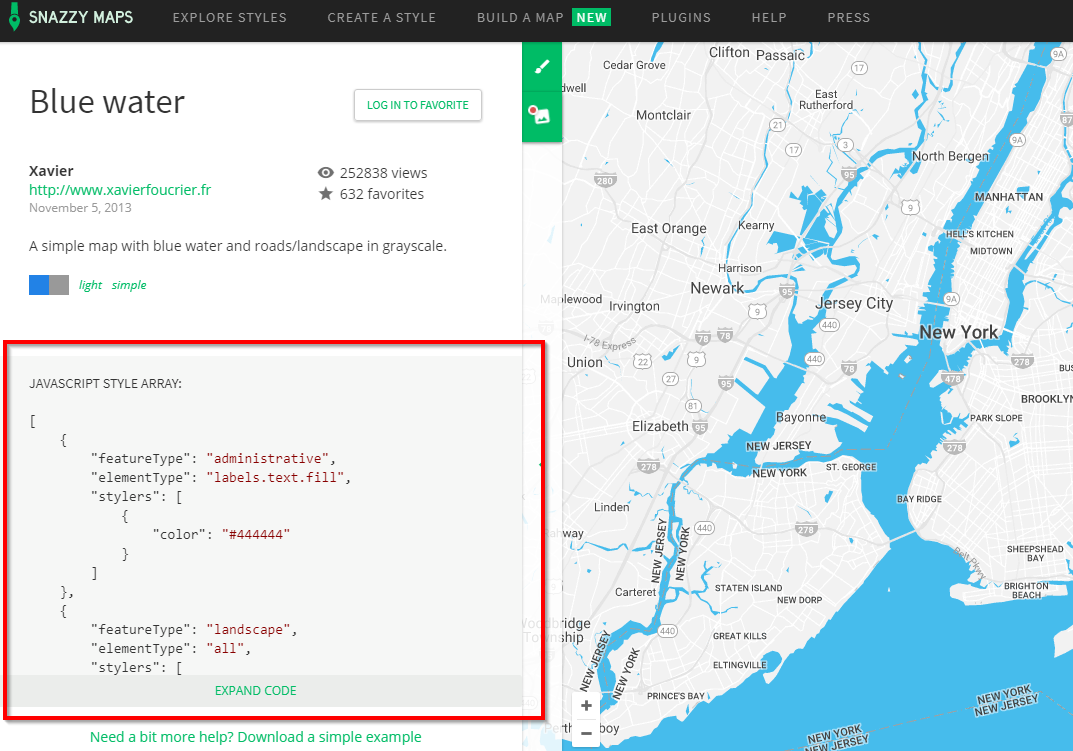
- Copy and paste the code into the Wordpress Customizer "Google Map Style" field.
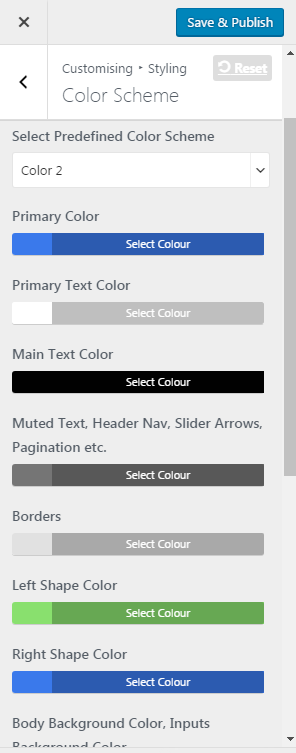
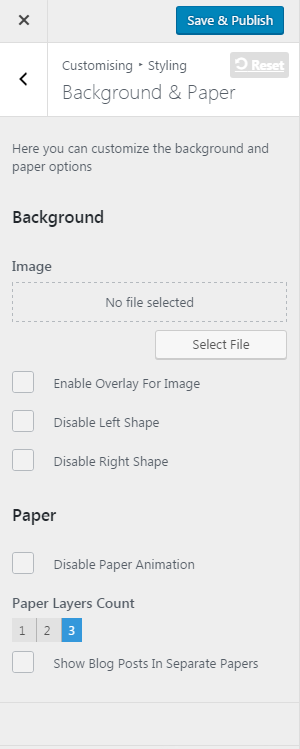
Styling
The section contains two block which let you manage the color schemes and background options for your website
Additional CSS
CSS allows you to customize the appearance and layout of your site with code. Separate CSS is saved for each of your themes. In the editing area the Tab key enters a tab character. To move below this area by pressing Tab, press the Esc key followed by the Tab key.
You can find detailed information about this section here.
Theme translation
For localizing certy and plugins in "wp-content" folder you need to create a directory named "languages”, if it does not already exist. Please make sure that your web server has correct permissions to “languages” directory. You can always find more information about Wordpress file permissions.
Loco Translate plugin
There are many ways for translating themes and plugins. We recommend translating WordPress themes and plugins with Loco Translate plugin. It allows having all necessary tools right in your WordPress without switching to any other external programs. If you don’t want or can’t provide access to your admin panel to other editors you can use online alternative of "Loco Translate" plugin.
First of all you will need to install Loco Translate plugin. You can do that in two ways
In one way you'll need to:
- login to WordPress admin
- go to Plugins > Add new
- after searching by this keyword “Loco Translate” install found plugin
or you can use another way for installing:
- Go by this link and download plugin
-
Go to Plugins > Add new and click “Upload plugin” button.
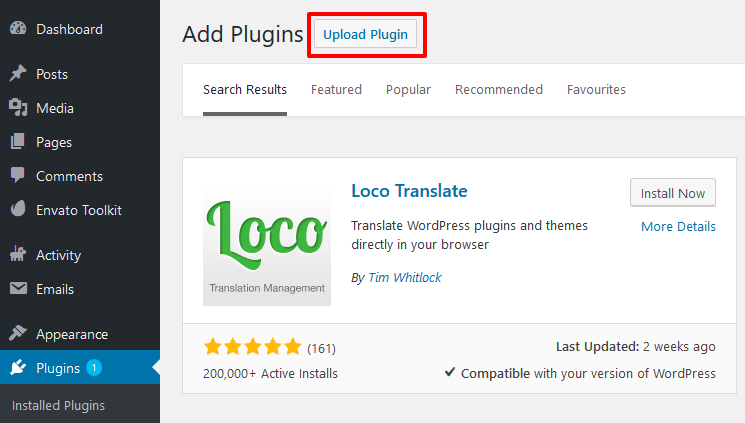
- Then click the Browse button to select the zip file you would like to upload.
- After installing plugin you will have to activate it, before you’ll be able to use it.
Translation steps:
-
After installing and activating go to Loco Translate section and choose in list your target theme/plugin and click on it.
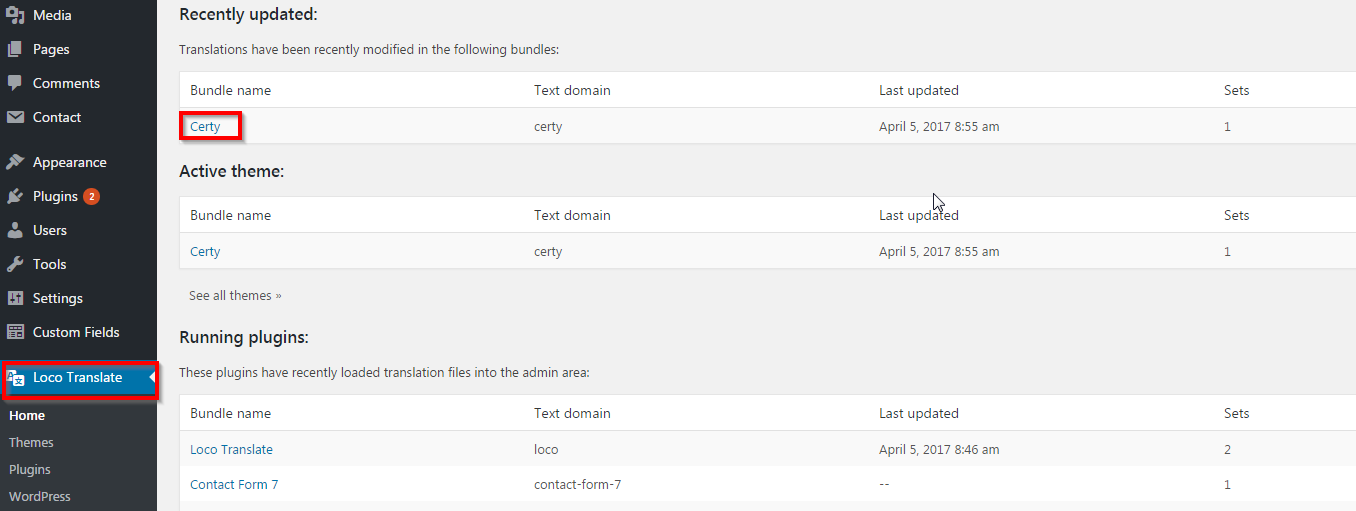
-
In opened page click "New language"

-
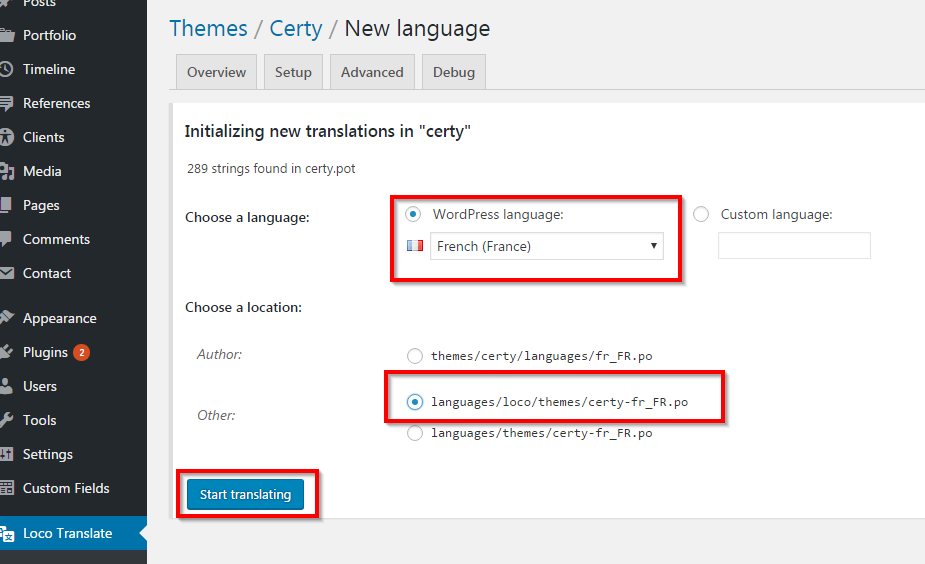
Select your language (for example "French", code "fr_FR") and click Start translating
Note: To keep translations safe after future updates, always choose second location: languages/loco/themes/certy-fr_FR.po as shown in image below. All custom translations are stored in the wp-content/languages/loco/ directory so unless you reinstall the entire WordPress installation, all is safe in that folder. Without losing translations you can update the theme and any plugin. Even using the child theme is not mandatory.
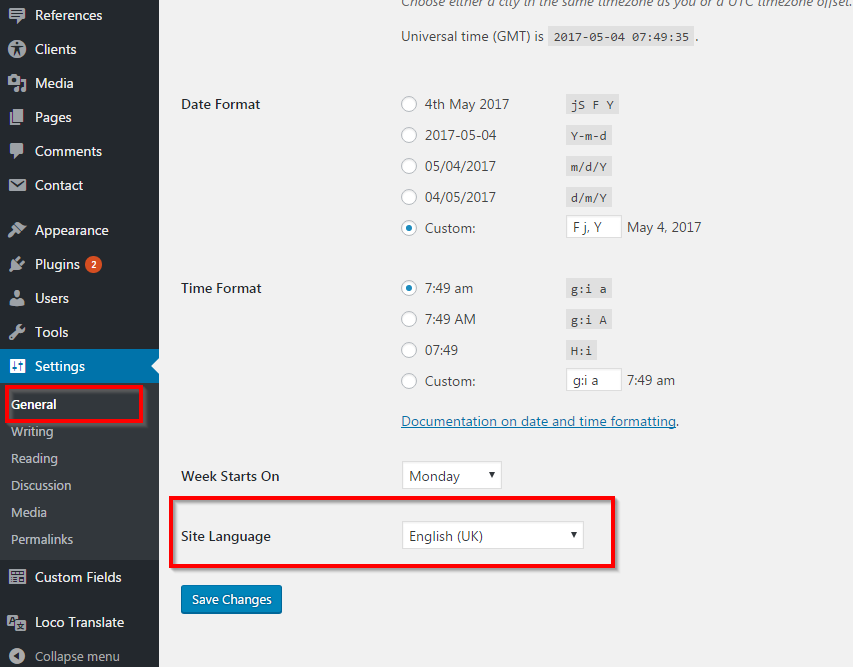
Note: this translation will be loaded only if your site language in WordPress Admin › Settings › General › Language is the same.
-
Translate all phrases and click Save to generate all necessary translation files.
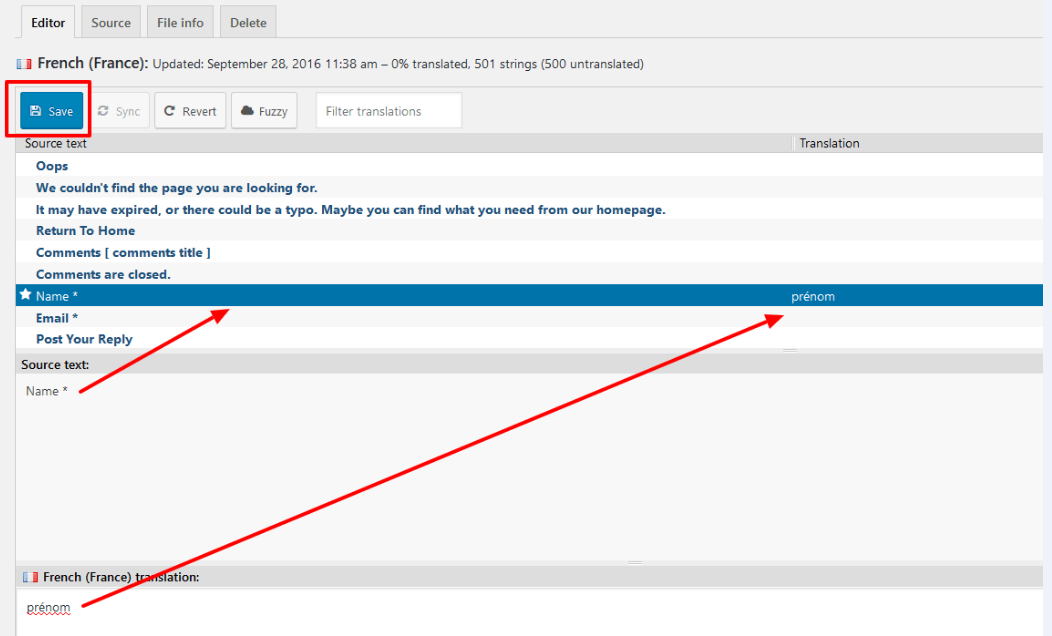
Now you can check changes on website
Post management
To start creating your first post, go to Posts > Add New from the admin panel
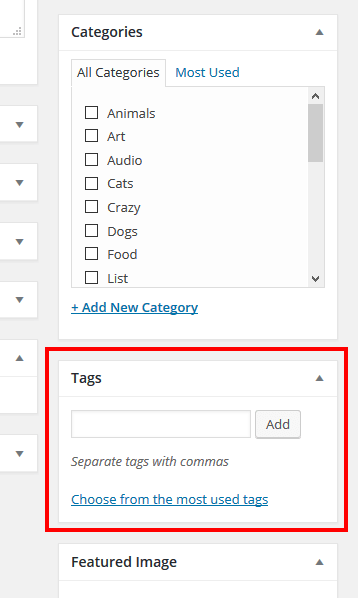
You can manage the blog categories here.
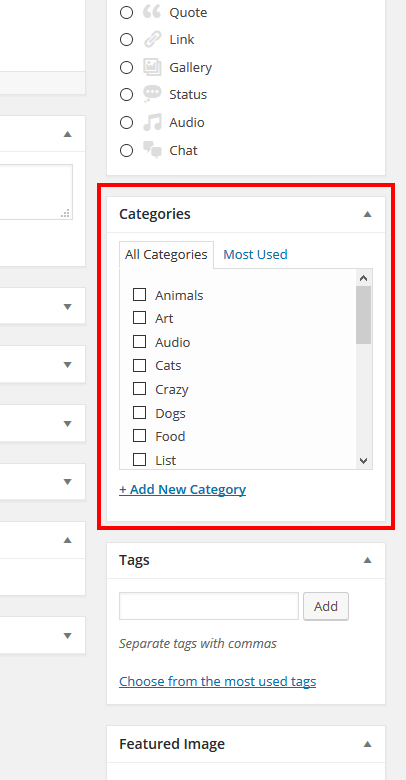
You can manage the blog tags here.
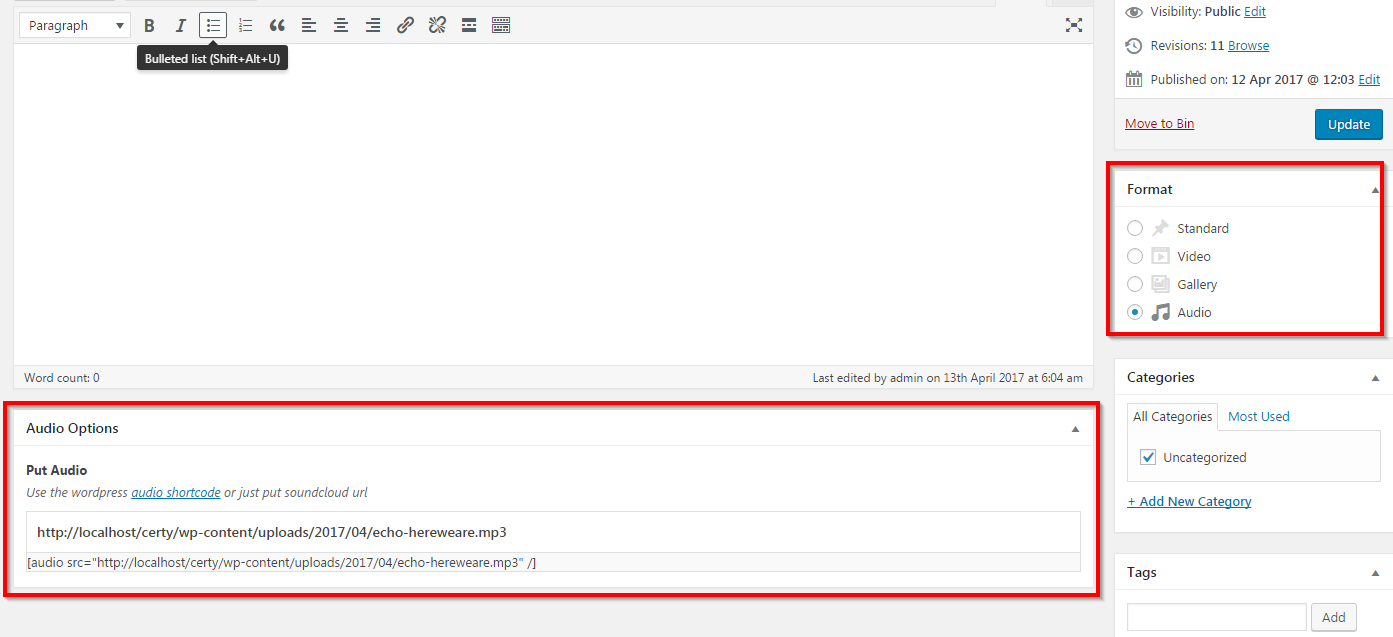
You can select post's format from right sidebar and appropriate fields will be shown under the editor.
Page management
To start creating your first page, go to Pages > Add New from the admin panel
When creating a new page, one of the first things you will probably want to do is to choose an appropriate template for your page. To do this locate the Page Attributes section on the right side of the screen.
There are just 2 types of page templates:
Default Template - select this template if you would like to create a standard page or if you want to use our builder and add any section you want.
Blog - select this template if you would like to show blog posts.
Now let's see the builder sections.
-
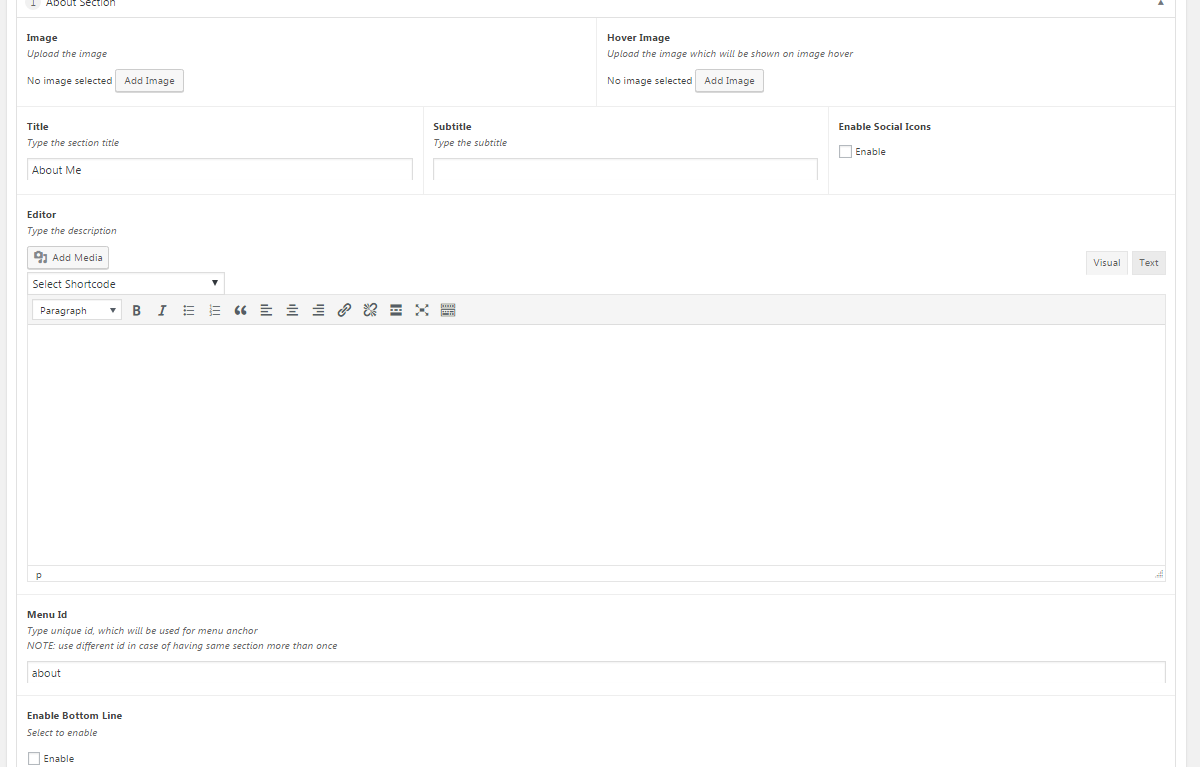
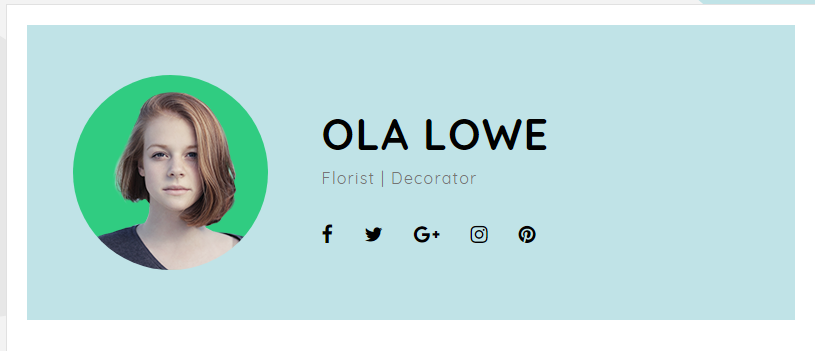
About Section
-
Image:
Upload the image
-
Hover Image:
Upload the image which will be shown on image hover
-
Title:
The section title
-
Subtitle:
The section subtitle
-
Enable Social Icons:
Select the checkbox to enable the socials
-
Editor:
This field can be used to show some custom content, which will appear under the social icons
-
Menu Id:
Type unique id, which will be used for menu anchor.Use different id in case of having same section more than once
-
Enable Bottom Line:
Select the checkbox if you want this section to have bottom line
-
-
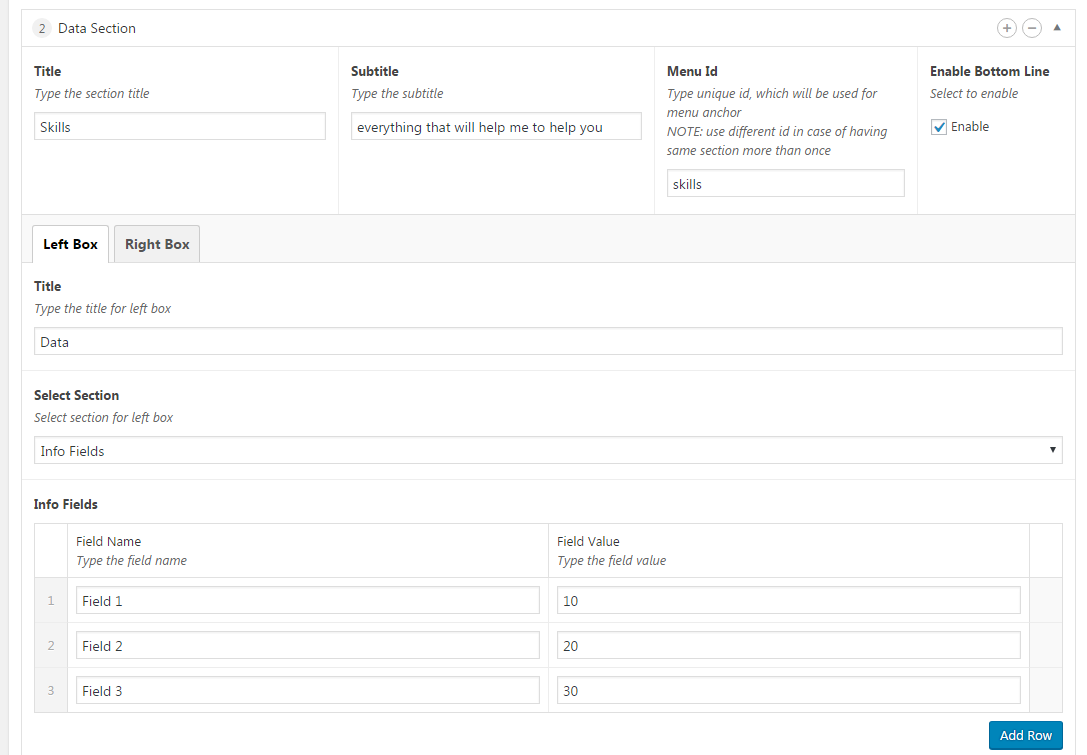
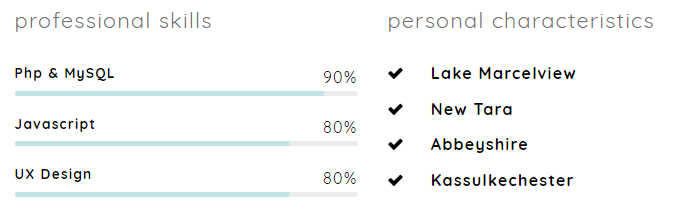
Data Section
You can use this section to create the several varitions of the information sections such as info fields,data bars or editor with any type of custom content
-
Title:
The section title
-
Subtitle:
The section subtitle
-
Menu Id:
Type unique id, which will be used for menu anchor.Use different id in case of having same section more than once
-
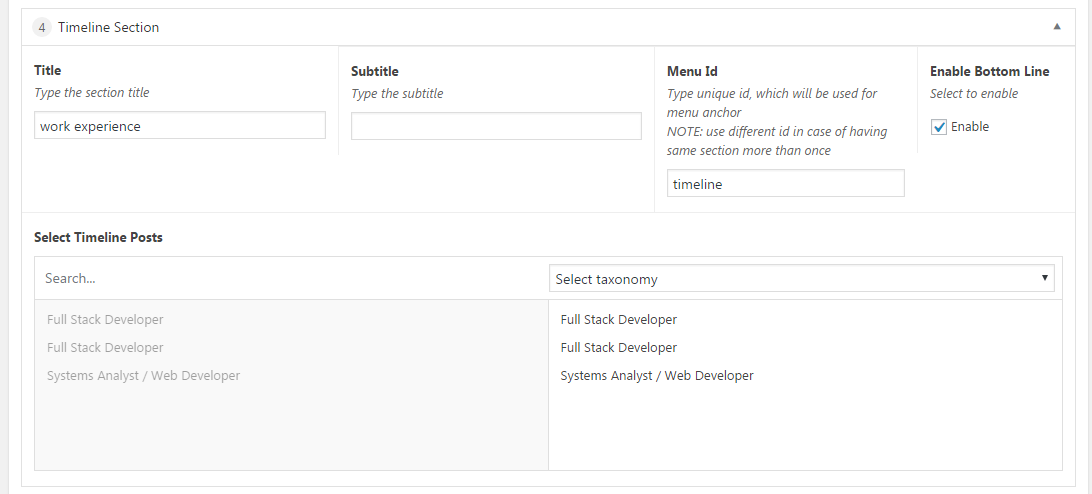
Enable Bottom Line:
Select the checkbox if you want this section to have bottom line
-
Left Box/Right Box
If One of this boxes isn't filled in, the other box will be shown by full width
-
Title:
The box title
-
Select Section:
Select the section you want to show in that box and the appropriate fields will be shown
-
-
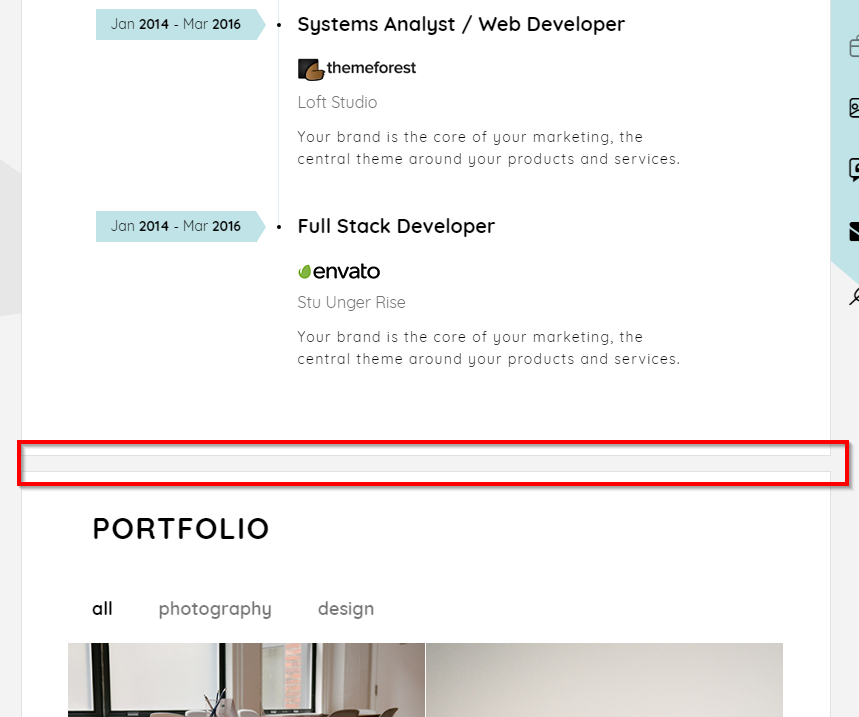
End Of Paper Divider
Put this section anywhere you want the paper to be divided

-
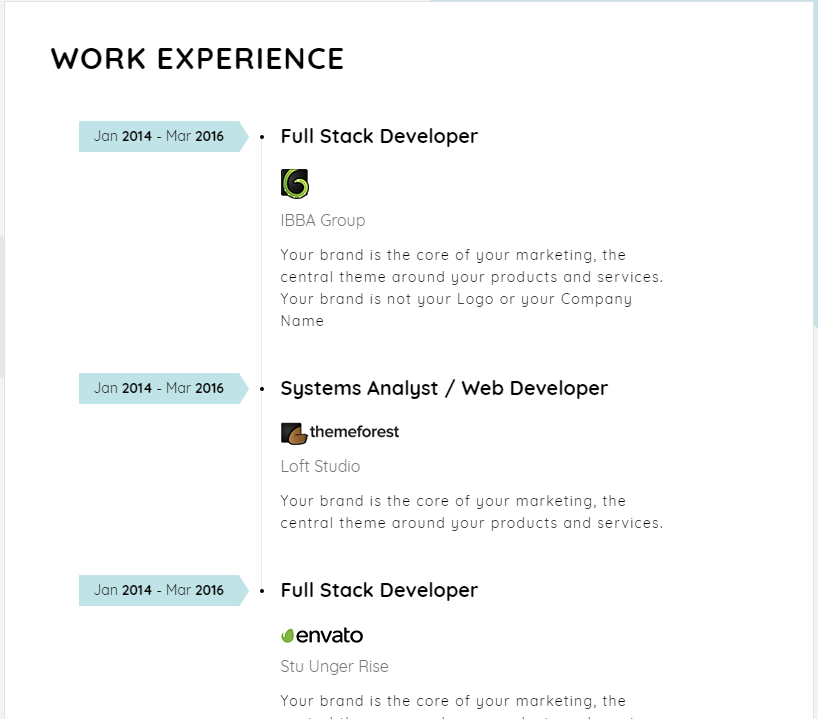
Timeline Section
Here you can select the timeline posts
-
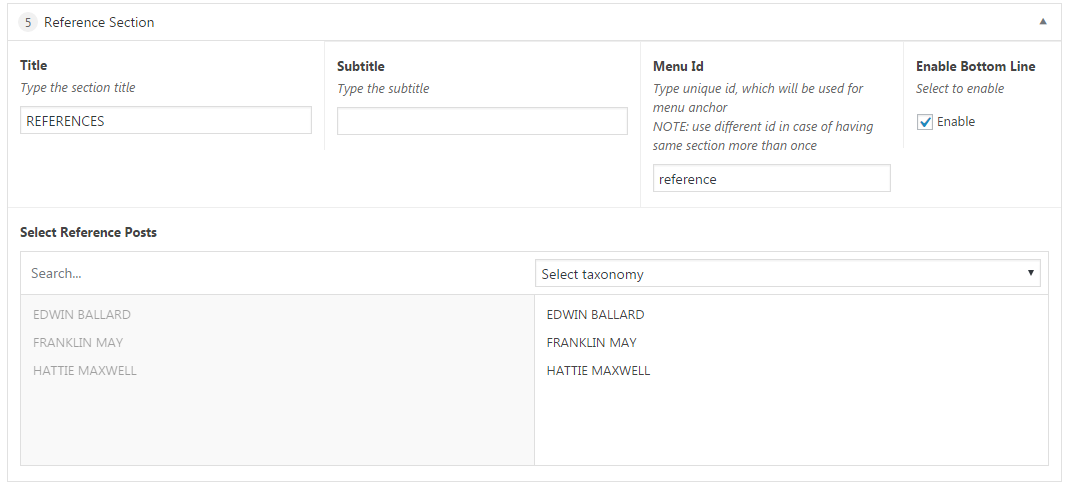
Reference Section
Here you can select the reference posts

-
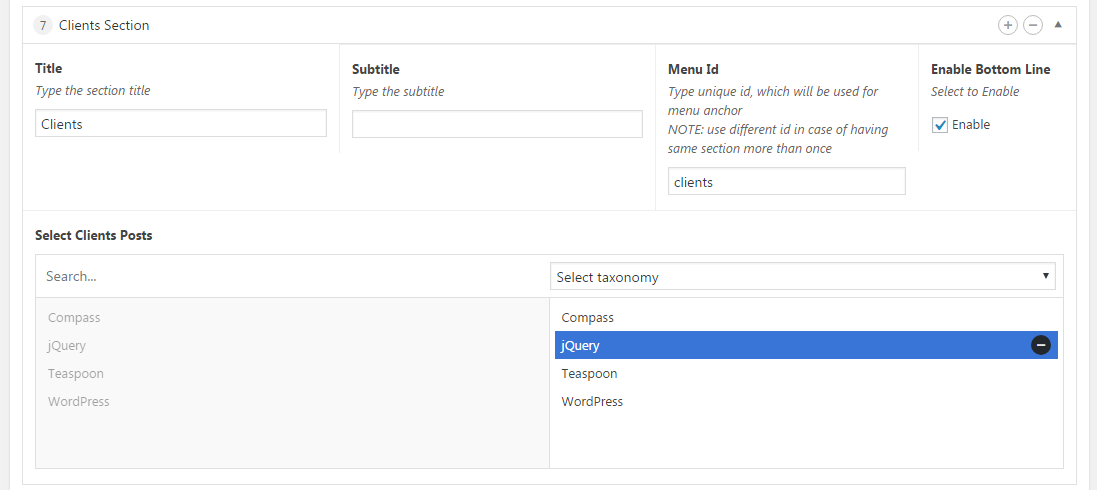
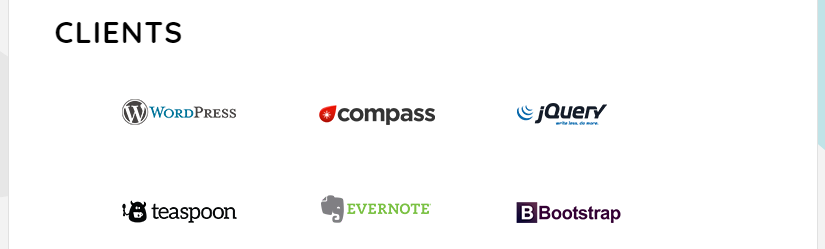
Clients Section
Here you can select the clients posts
-
Portfolio Section
Here you can select the portfolio posts
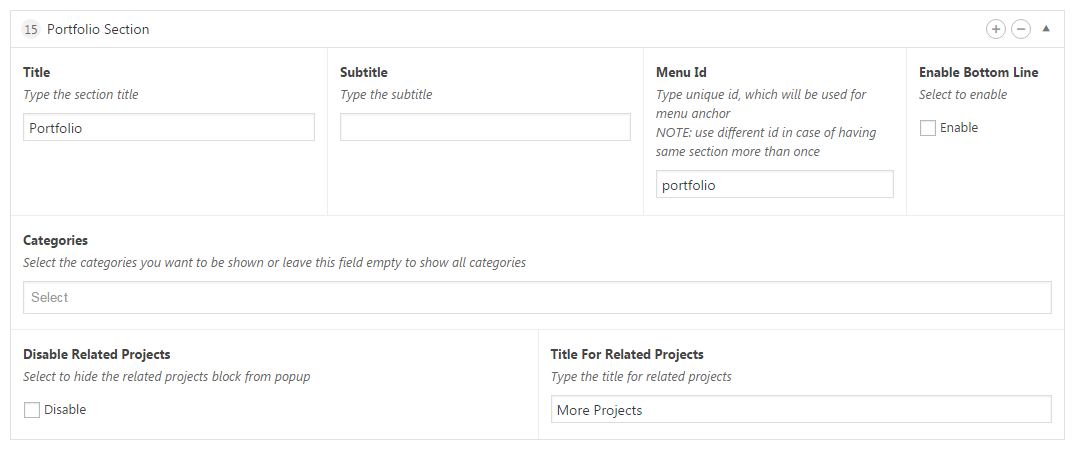
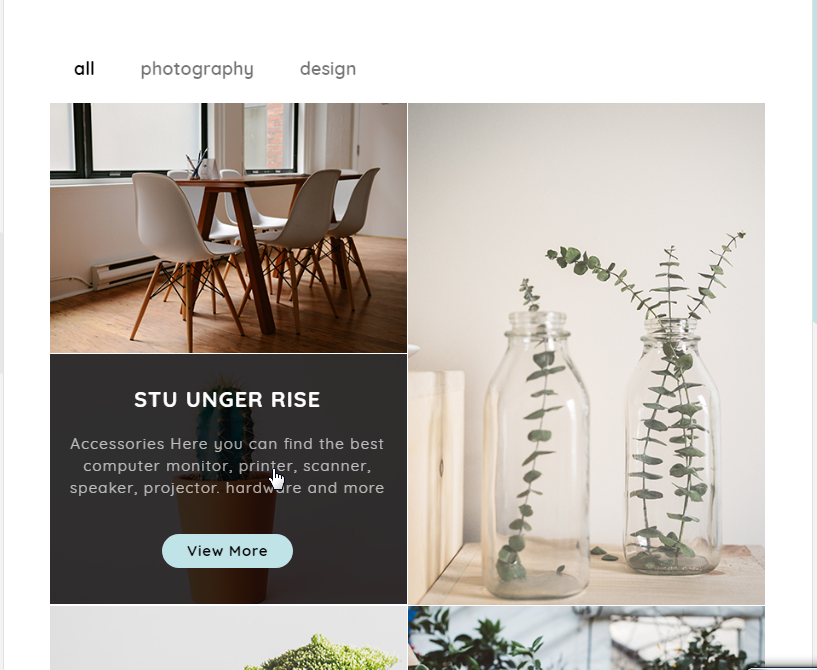
You can select the portfolio category you want or leave it blank to show all categories. If one category is selected than the filter won't show
Here you can also enable/disable related posts block and select the title for it
-
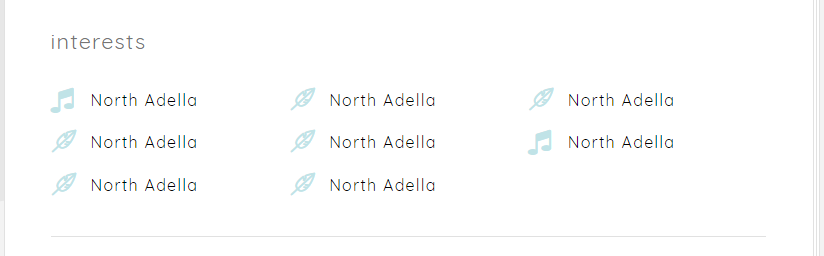
interests Section
You can use the simple repeater to add your interests. You just need to put the icon class and interest name
Here you can see available icons list for Certy
=> http://certy.px-lab.com/designer/icons/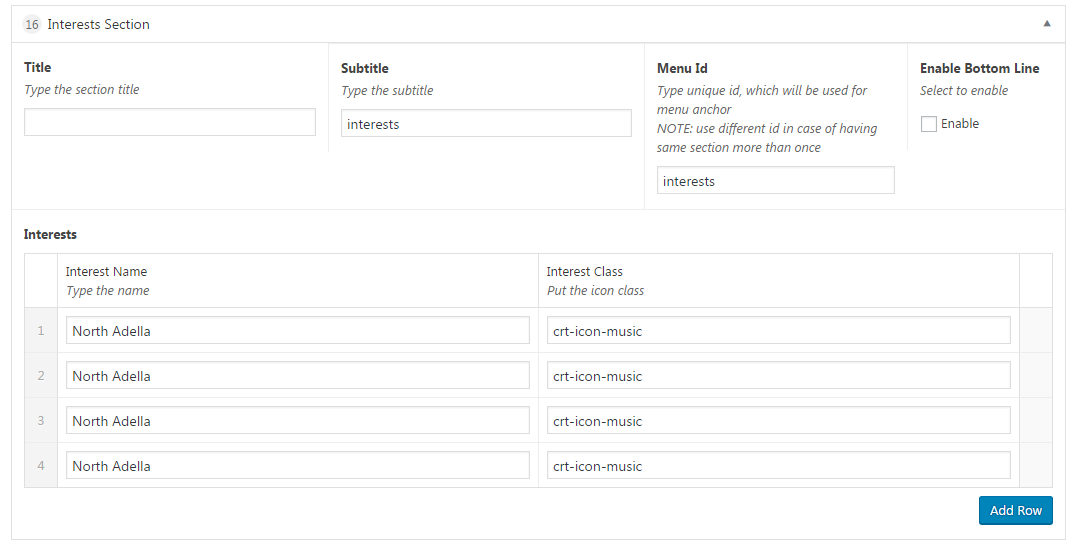
-
contact Section
Use this section to show the contact form or google map
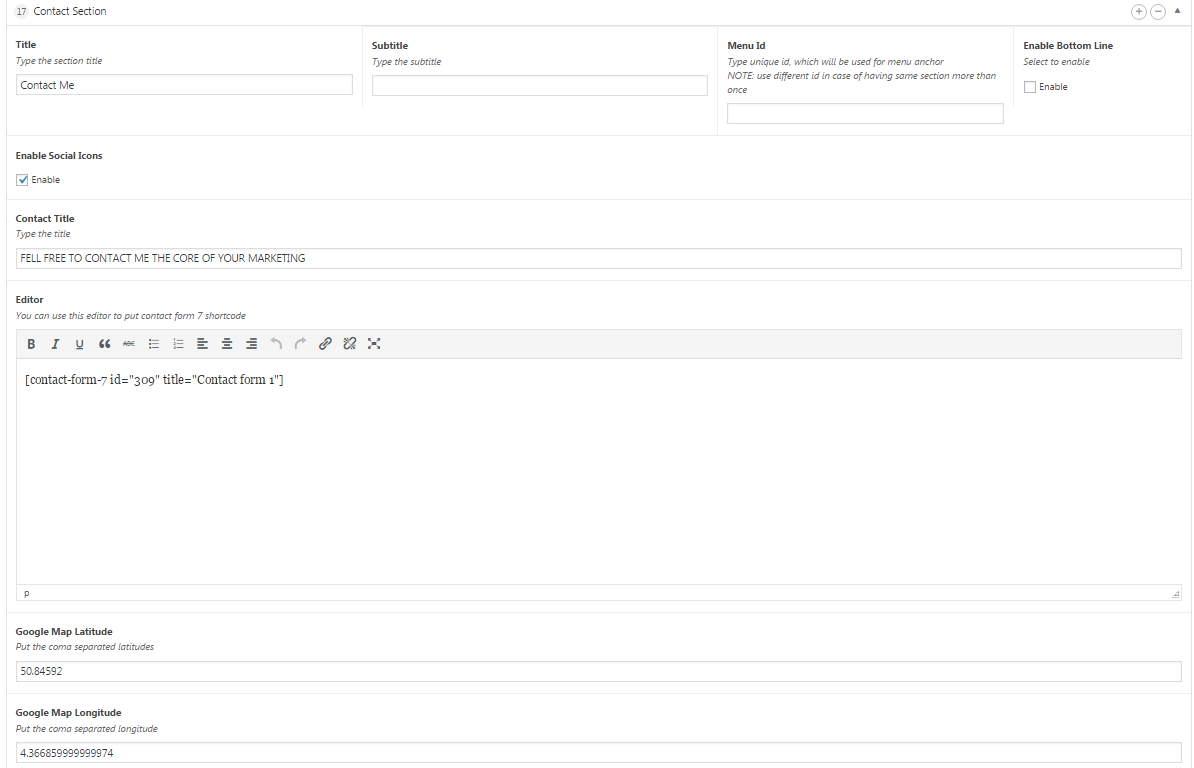
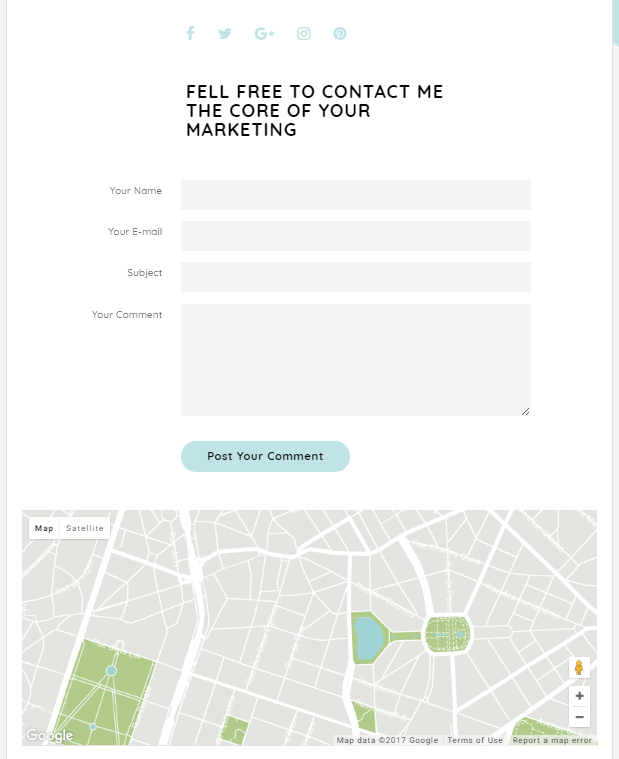
Please use the Contact Form 7plugin, which is the recommended plugin in Certy theme and put the shortcode to Editor field to show the contact form
Post Types
We have created several post types to help you to build your page sections
Portfolio
Timeline
References
Clients
Portfolio
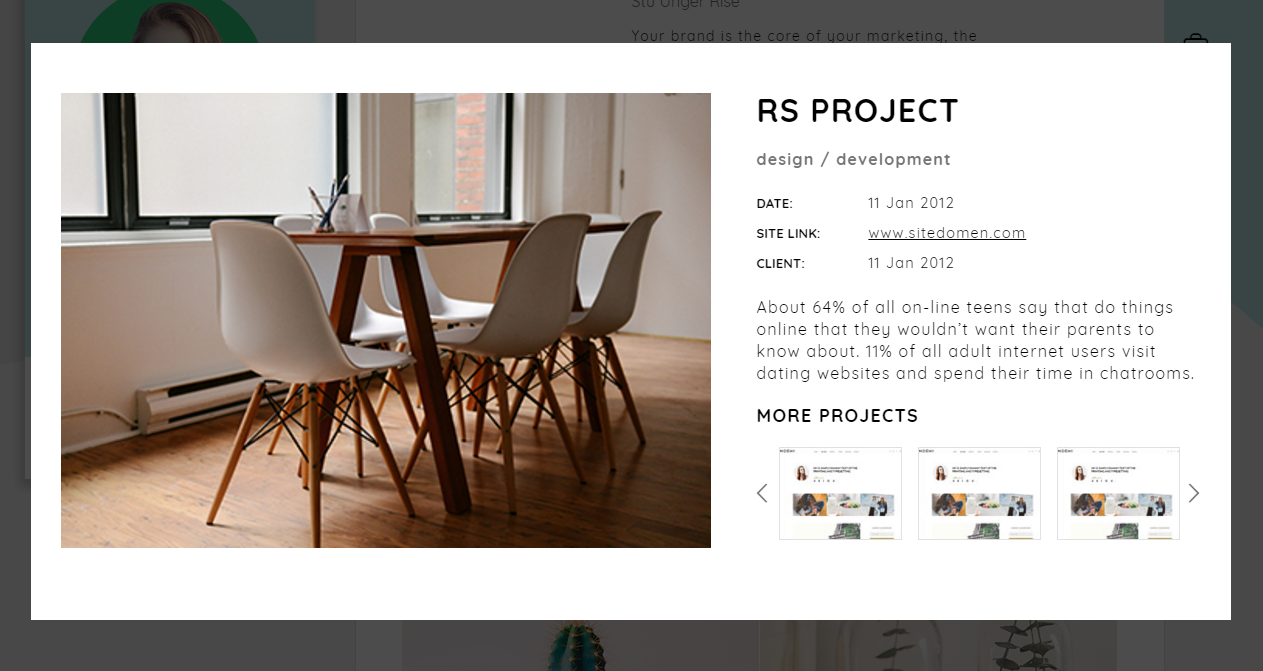
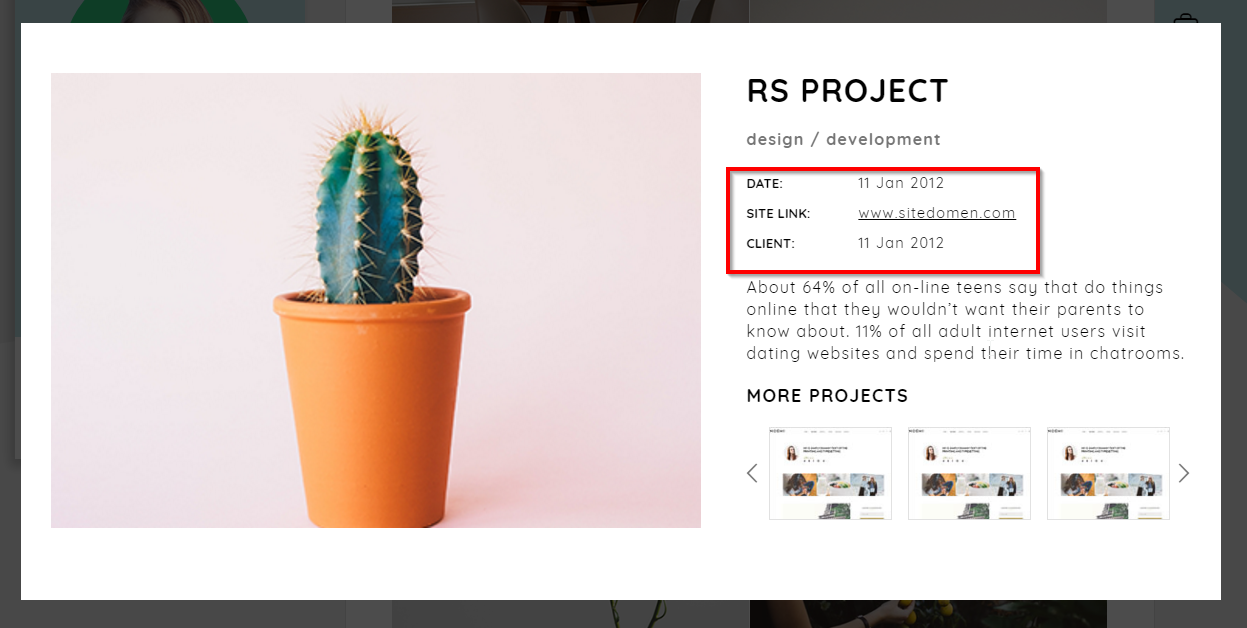
Here you can create portfolio posts.Let's see the portfolio options
-
Popup Slider
You can use this section to create the several varitions of the information sections such as info fields,data bars or editor with any type of custom content
Media Type:
Select the type of the media and fill in the apropriate fields. Can be Image|Video Iframe|Video Upload
-
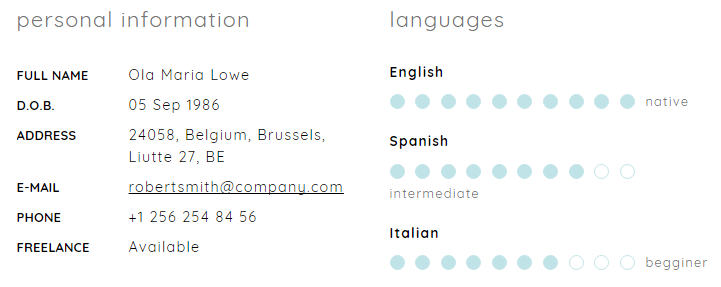
Info Fields:
You can use the simple repeator to add the info block
Timeline
Here you can create Timeline posts.Let's see the timeline options
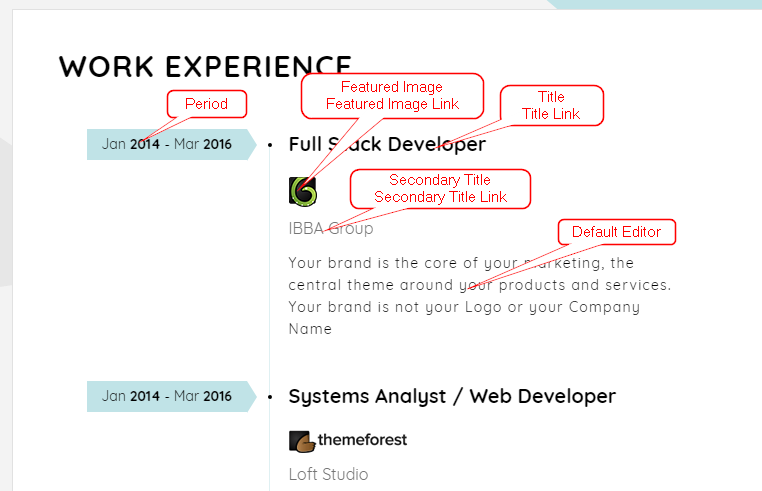
-
Title Link:
-
Featured Image Link:
-
Secondary Title:
-
Secondary Title Link:
References
Here you can create Reference posts.Let's see the reference options
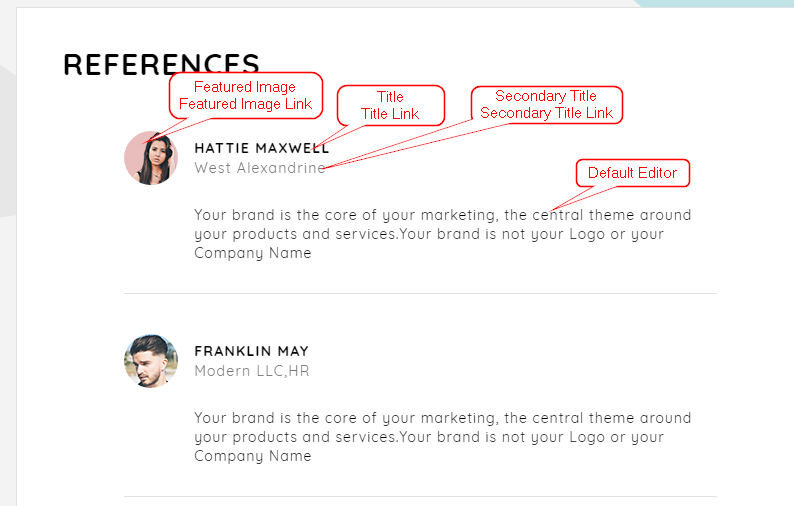
-
Title Link:
-
Featured Image Link:
-
Secondary Title:
-
Secondary Title Link:
Clients
Here you can create Clients posts.Let's see the clients options
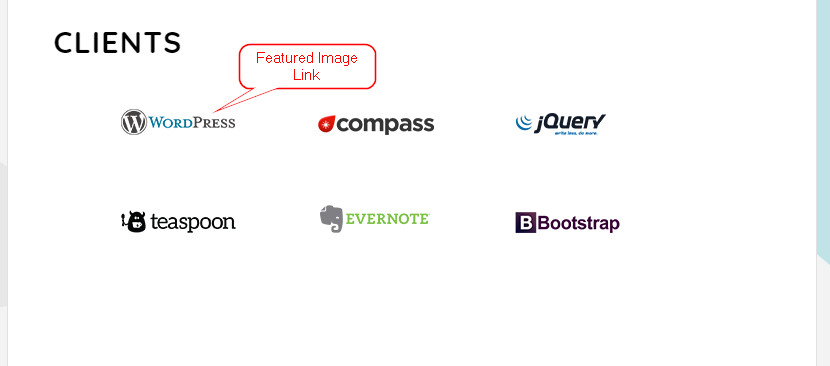
-
Link:
Menus
To start creating your menu, go to Appearance > Menus from the admin panel.
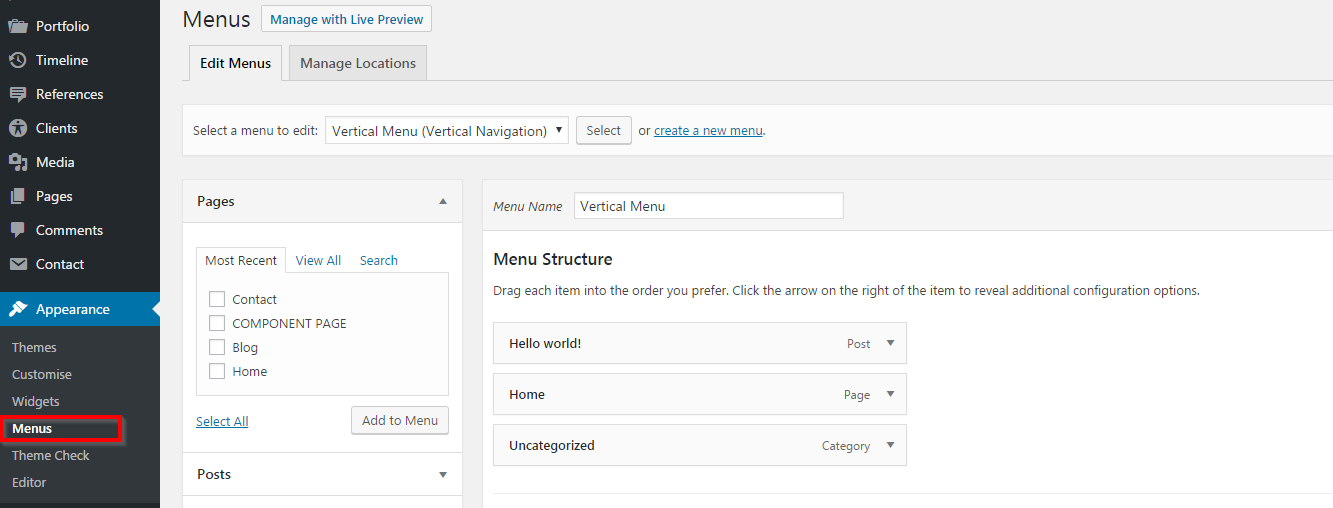
At the upper left corner you'll see 2 tabs: Edit Menus and Manage Locations.
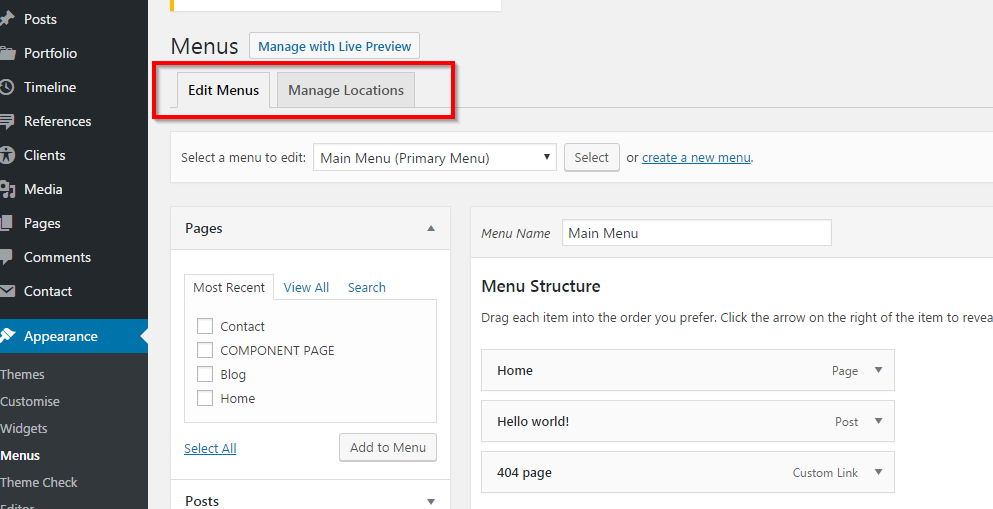
In Manage Locations, you can assign menus to locations.
Note: you must assign your menu to a location in order for it to be visible.
Now let's go to Edit Menus. At the bottom of the page, in the section Menu Settings, you're also able to assign the current menu to a location.

In sample data we’ve already created menus with the same name of locations for where they must be assigned.
When creating a menu, you can click on the little triangle on each menu item in order to open up a list of editable settings.
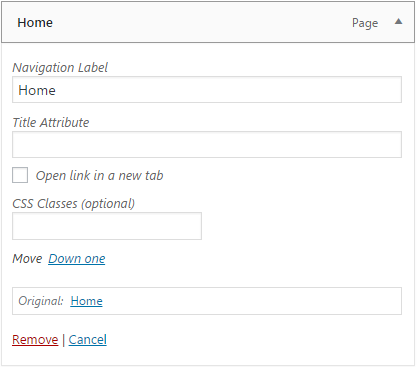
Let's go over them:
-
Navigation Label (default)
Here you can enter a navigation label for this menu item. By default, the label is the same as the page title.t
-
Title Attribute (default)
The title attribute will pop up once viewers hover over the navigation label.
-
Open link in a new window/tab (default)
Enable this option if you want the link to open in a new window or tab.
Widgets
We have added 6 Widget Areas for displaying existing widgets.
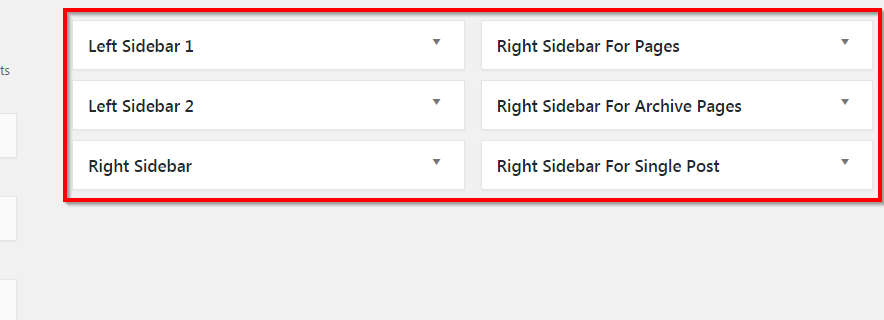
- Right widget area
- content will be shown everywhere where it will be replaced including Right Sidebar For Pages, Right Sidebar For Single Post and Right Sidebar For Archive Pages widget areas, while that areas will be empty
- Right Sidebar For Pages
- content will be shown for pages
- Right Sidebar For Single Post
- content will be shown for posts
- Right Sidebar For Archive Pages
- content will be shown for archives
- Left Sidebar 1
- The left sidebar where the widgets will be in same white background
- Left Sidebar 2
- The left sidebar where the widgets will be in separate blocks each
To display/edit/reorder your chosen widgets in this areas:
- Go to Appearance > Widgets in the WordPress Administration Screens.
- Choose a Widget and either drag it to the sidebar where you wish it to appear, or click the widget, and click the Add Widget button. Once in place, WordPress automatically updates the Theme.
- Preview the site. You should find that the "default" sidebar elements are now gone and only the new addition is visible.
- Return to the Widgets Screen to continue adding Widgets.
- To arrange the Widgets within the sidebar or Widget area, click and drag it into place.
- To customize the Widget features, click the down arrow in the upper right corner to expand the Widget's interface.
- To save the Widget's customization, click Save.
- To remove the Widget, click Delete.
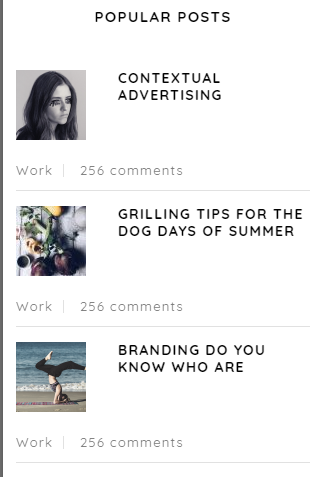
For Certy, we've developed custom widgets to give you even more functionality.
There are:
-
Certy: Card Widget

-
Certy: Recent Posts
More detailed instructions about how to install and display standard widgets, you can read here.
Plugins
Required Plugins
-
Certy Extensions: Adds custom functionality to Certy theme ( Post Types and Shortcodes )
-
Advanced Custom Fields PRO: The main builder for Certy Theme
Recommended Plugins
-
Contact Form 7: This is the very popular contact form plugin which is used in our demos
-
Image Widget: Adds the simple image widget
Child Theme
Child theme is for developers willing to make changes to core functions and code. If you are not planning to dig that deep, you can easily skip this chapter.
If you want to make changes in theme’s templates or functions, we recommend that you install child theme and make changes there. To learn more about the purpose and basis of creation of child theme, visit this page.
In the theme pack you will see materials for the child theme. It’s located in the "certy-child.zip" archive. You can install the child theme the same way as you install the main theme (see above in the section "Install theme")
A few recommendations on how to use Child Theme from certy Theme:
- Almost all files from the main theme can be replaced in the theme. It doesn’t concern only .php-files with templates and basic logics, but also both .js, .css files from respective folders and files with images, icons etc..
- If you want to change some of the theme’s functions or to add new ones, you need to create file 'functions.php' in the folder "certy-child", and add all required functions into it. If our theme contains functions with such names, they will be replaced with yours, if not – your functions will complete our theme’s logics.
- As for other files - put out templates from the folder 'templates-parts' ( maintaining files hierarchy ), images from the folder 'images' etc. - to make changes, copy theme into the folder 'child theme' and make changes there.
Shortcodes
Except the WordPress native shortcodes, we developed the shortcode which allows you to manage your editor's layout and the shortcode for contact form.
For correct shortcode formatting, please make sure that "visual" mode editor is selected before using the shortcode.
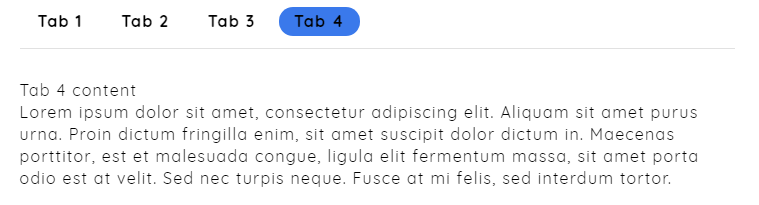
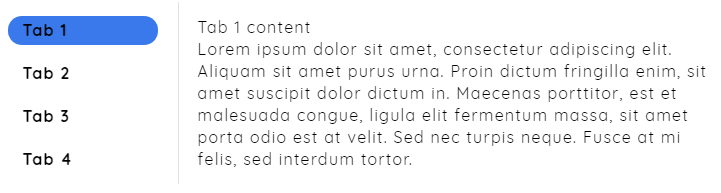
Tab Shortcode
Tabbed content allows you to display content in tabs.
Horizontal Tab Example
Vertical Tab Example
Example:

        [certy_tabs_wrapper type='horizontal]

		[certy_tab_title_wrapper]

		[certy_tab_title for='1']Tab 1[/certy_tab_title]

		[certy_tab_title for='2']Tab 2[/certy_tab_title]

		[/certy_tab_title_wrapper]

		[certy_tab_content_wrapper]

		[certy_tab_content id='1'] Tab 1 content[/certy_tab_content]

		[certy_tab_content id='2'] Tab 2 content[/certy_tab_content]
Parameters
- type
- Can be one of these values: horizontal (default) or vertical.
- for
- type the number to bind with apropriate content
- id
- Content number.
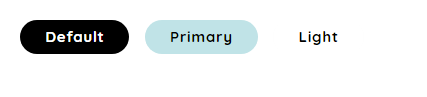
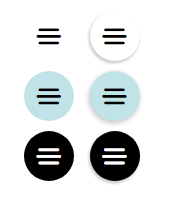
Buttons
Buttons can lead to internal or external links. Buttons have its own link, caption (Text) and style.

Examples:

		[certy_button button_text='Download' button_link='#' target='_blank' style='circle|thin' color='primary|light|default' size='small|medium|large' icon='icon class']

		[certy_button button_text='Download' button_link='#' target='_blank' style='circle|thin' color='default' size='small' icon='icon class']

		[certy_button button_text='Download' button_link='#' target='_blank' style='thin' color='default' size='small' icon='icon class']

		[certy_button button_text='Download' button_link='#' target='_blank' style='circle' color='light' size='small' icon='icon class']

		[certy_button button_text='Download' button_link='#' target='_blank' style='circle' color='primary' size='small' icon='crt-icon-close']
Parameters
- button_text
- button_link
- The URL path where the button links to. For example, http://www.example.com/
- target
- Can be one of these values: blank (for new window), self (for same window).
- style
- Can be one of these values: circle or thin
- color
- Can be one of these values: primary|light|default which you can change at customizer options
- size
- Can be one of these values: small|medium|large
- icon
- Here you can put the icon class and the icon will appear before the button text
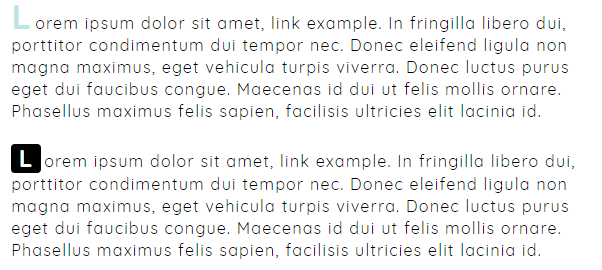
Dropcap
Dropcap is a large initial letter that drops below the first line of a paragraph, usually used at the beginning of a section or chapter of a book.
Examples:

        [certy_dropcup color='default|primary' background_color='default|primary']L[/certy_dropcup]
Parameters
- color
- Can be primary ( site primary color ). Leave blank for default style.
- background_color
- Can be primary ( site primary color ). Leave blank for default style.
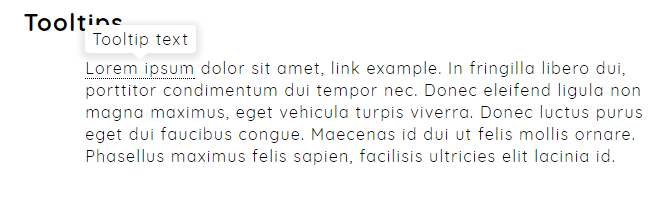
Tooltips
Examples:

        [certy_tooltip title='tooltip text']Lorem ipsum[/certy_tooltip]
Parameters
- title
- The custom text that will show in the text popup.
Highlight

Examples:

        [certy_highlight]highlighted text[/certy_highlight]
Columns
There are 3 types of column shortcodes: One Half, One Third, One Fourth, you can put content, image or other shortcode to these columns
Two columns
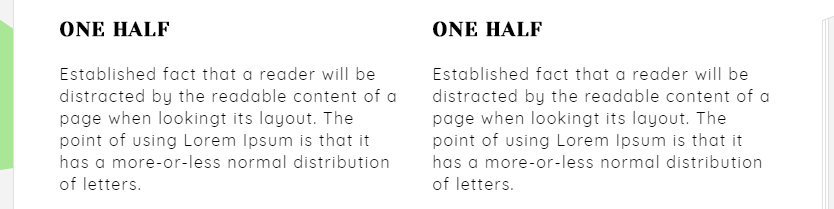
[wrapper][one_half]

										ONE HALF

										Established fact that a reader will be distracted

										[/one_half][one_half]

										ONE HALF

										Established fact that a reader will be distracted

										[/one_half][/wrapper]
Three columns
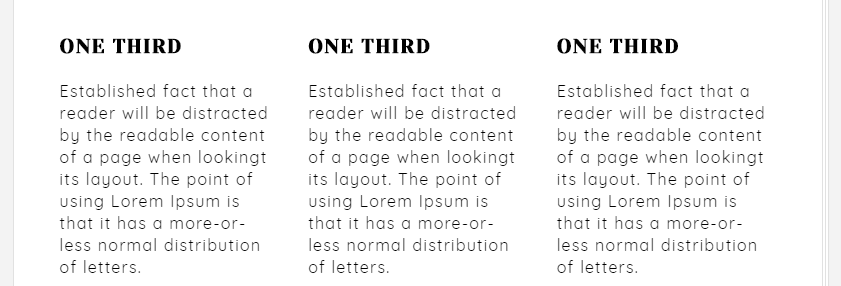
[wrapper][one_third]

										ONE THIRD

										Established fact that a reader will be distracted

										[/one_third][one_third]

										ONE THIRD

										Established fact that a reader will be distracted

										[/one_third][one_third]

										ONE THIRD

										Established fact that a reader will be distracted

										[/one_third][/wrapper]
Four columns
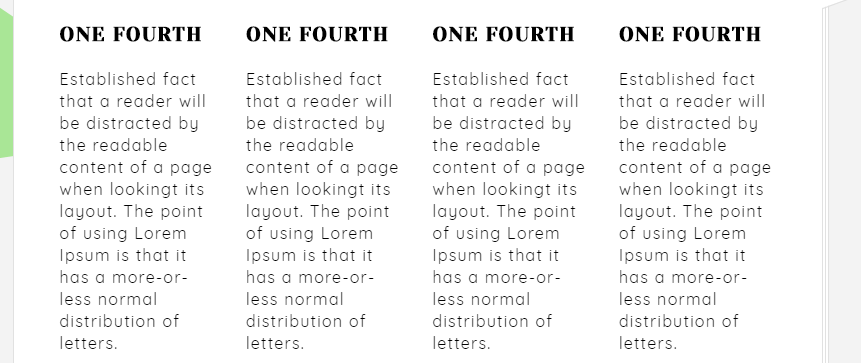
[wrapper][one_fourth]

										ONE FOURTH

										Established fact that a reader will be distracted

										[/one_fourth][one_fourth]

										ONE FOURTH

										Established fact that a reader will be distracted

										[/one_fourth][one_fourth]

										ONE FOURTH

										Established fact that a reader will be distracted

										[/one_fourth][one_fourth]

										ONE FOURTH

										Established fact that a reader will be distracted

										[/one_fourth][/wrapper]
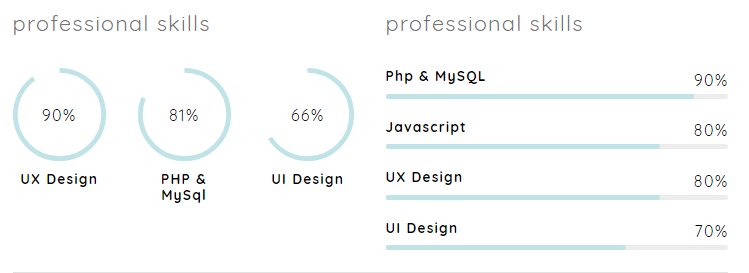
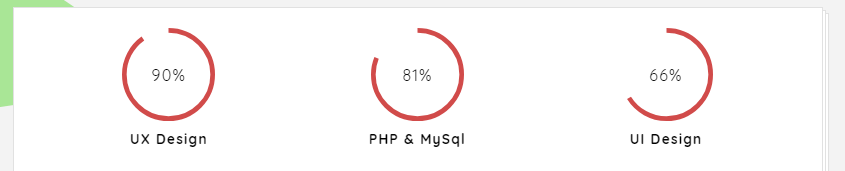
Progress Bars
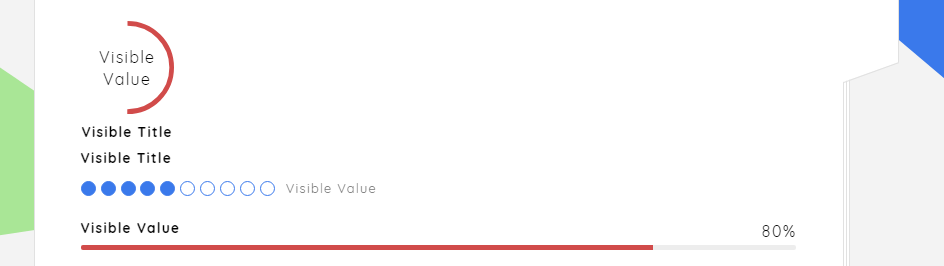
Examples:

        [circle_bar visible_value='Visible Value' bar_value='50']Visible Title[/circle_bar]

		[dote_bar visible_value='Visible Value' bar_value='5']Visible Title[/dote_bar]

		[line_bar visible_value='Visible Value' bar_value='80']
Parameters
- visible_value
- The visible value for users.
- bar_value
- The true bar value in range of 1-100.
Sliders
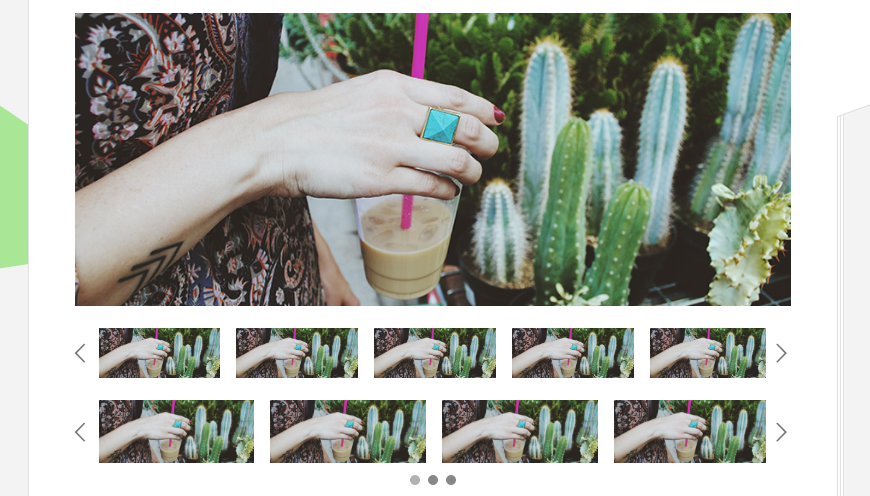
Examples:

        [certy_slider dotes='false' slides_count='1'][slide image_link=''][slide image_link=''][slide image_link=''][/certy_slider]
Parameters
- dotes
- If not flase then the dotes will be shown.
- slides_count
- How many slides to be shown
- image_link
- the image link url.
Alerts
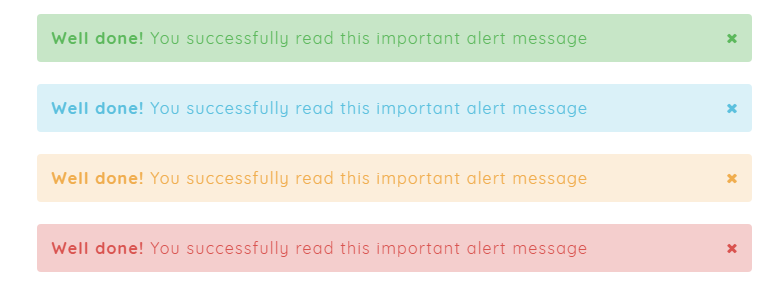
Examples:

        [certy_alert type='success']Well done! You successfully read this important alert message[/certy_alert]

		[certy_alert type='info']Well done! You successfully read this important alert message[/certy_alert]

		[certy_alert type='warning']Well done! You successfully read this important alert message[/certy_alert]

		[certy_alert type='danger']Well done! You successfully read this important alert message[/certy_alert]
Parameters
- type
- Can be success|info|warning|danger.
Lines

For lines you just need to use the wordpress default "Horizontal Line" button. You can change the line style by adding the class attribute to "hr" element when switching to text editor
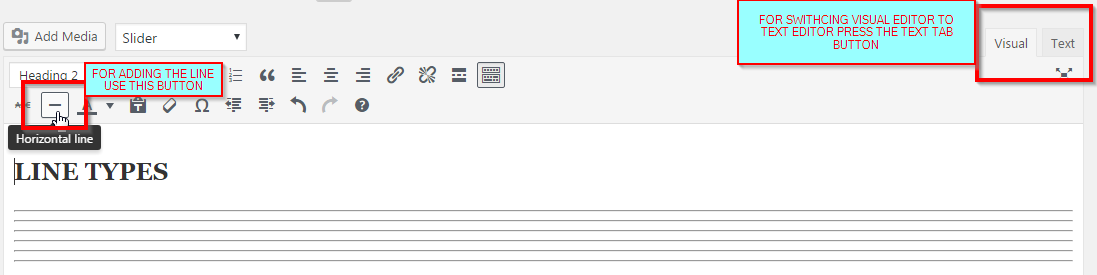
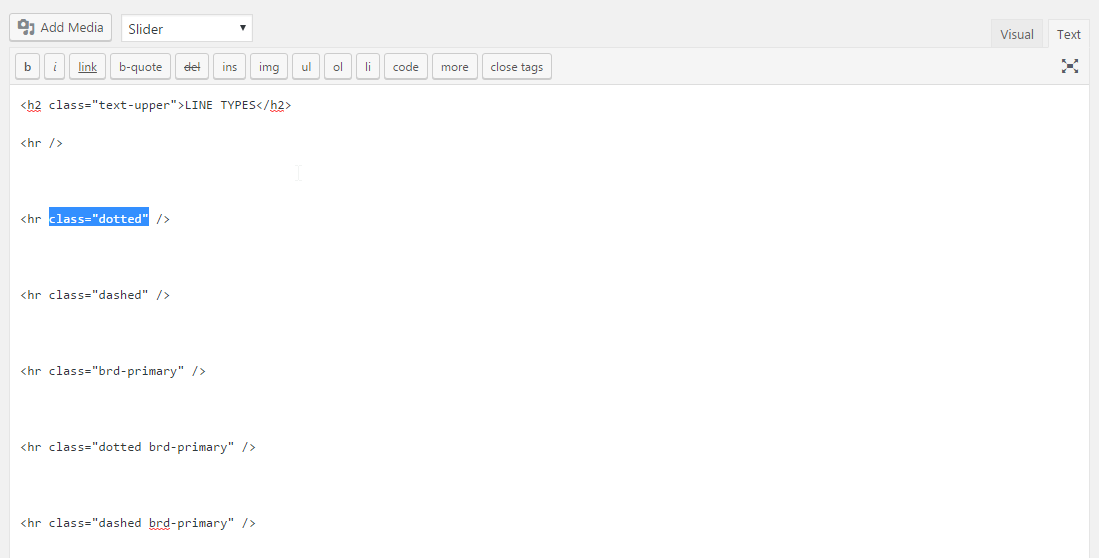
Parameters
- class
- Can be dotted|dashed|brd-primary|dotted brd-primary|dashed brd-primary.
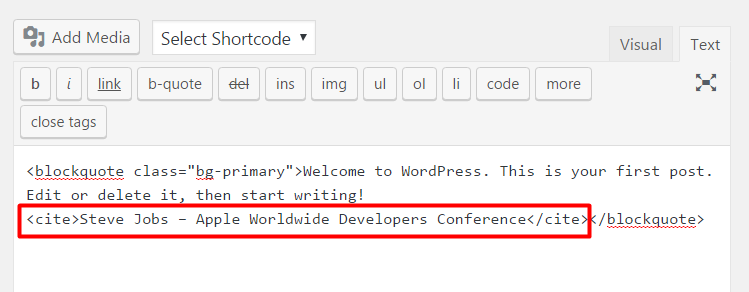
Blockquotes
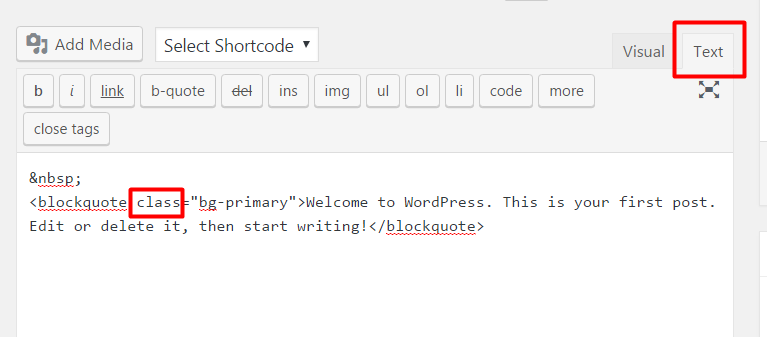
For blockquotes you just need to use the wordpress default "Blockquote" button. You can change the Blockquote style by adding the class attribute to "blockquote" element when switching to text editor
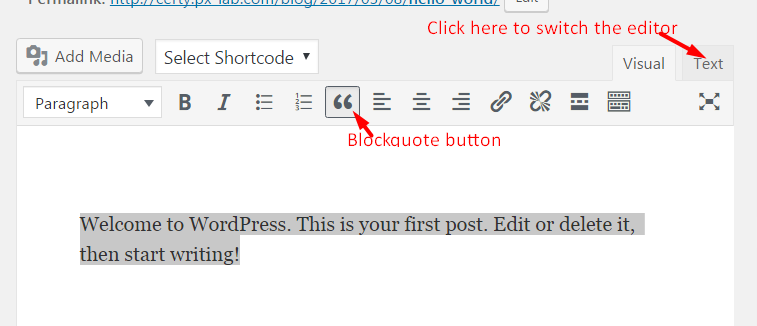
For Blockquote styling add the "class" attribute with options below
Parameters
- class
- bg-primary - adds the primary background color to blockquote
- quote-side - adds the " symbol to the left
- quote-top - adds the " symbol to the top
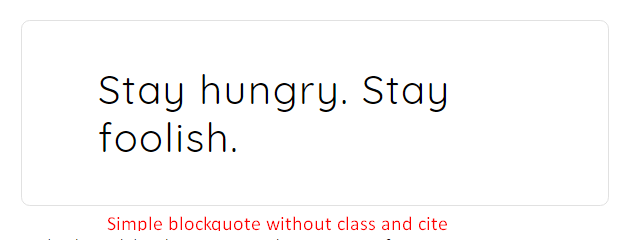

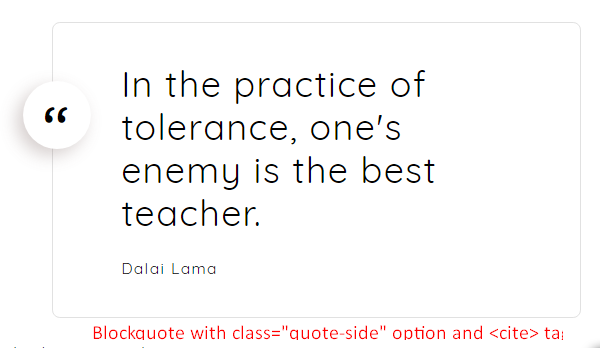
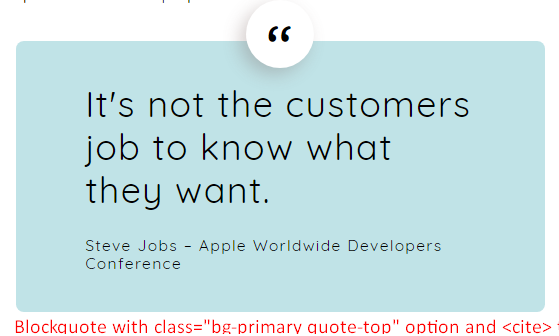
Also you can use the <cite>Small Text Goes Here</cite> and put it in blockquote
Toggle Link

Examples:

        [certy_toggle_link toggle_text='Show More']Established fact that a reader will be distracted by the readable content of a page when lookingt its layout.[/certy_toggle_link]
Parameters
- toggle_text
- the text on the toggle link.
Socials and Share
Examples:

        [certy_socials align='left|center|right']

		[certy_share align='left|center|right']
To find out more how to enable social sharing please read this article
Parameters
- align
- Can be left|center|right.
Sources and Credits
Images
Fonts
In the theme there are used two Google Web Fonts Cabin and Rammetto One by default. But you can use any font from google fonts collection from option panel.
Support and Feedback
If you have any feedback or suggestions please let us know via contact form.
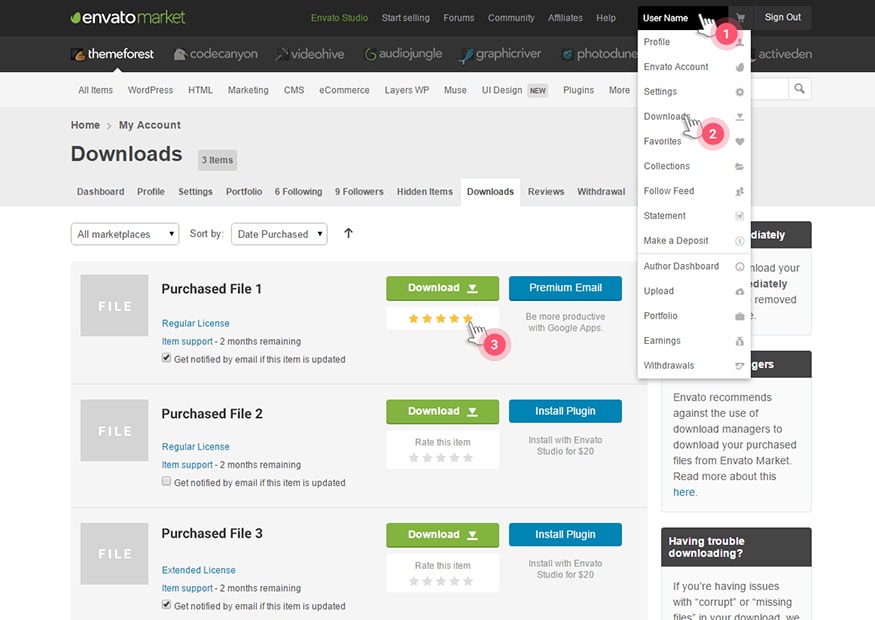
How to Rate
Go to Themeforest and follow the image instructions
Social
Here you can manage the social icons.